Merging Plans
Create a Merge Request
In order to merge changes between two related plans (most commonly between a branch and its parent), a merge request must first be created between the source plan (the one supplying changes) and the target plan (the one to receive changes).
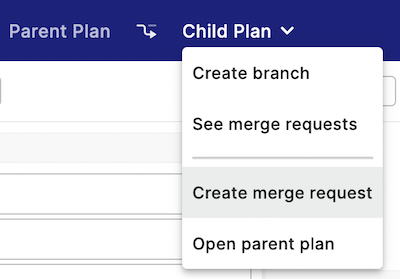
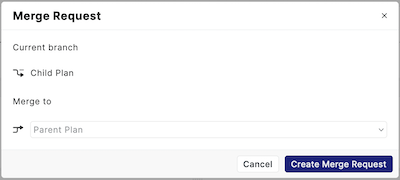
From the child plan in the PlanDev UI, open the dropdown and select "Create merge request". Confirm which plan you wish to be the target plan and press "Create merge request":
Currently it is only possible to select the parent branch as the target plan via the PlanDev UI. To merge between other related plans, use the PlanDev API.
Withdraw a Merge Request
You can withdraw a merge request so long as it is in the pending state.
A withdrawn merge request cannot be used to begin a merge.
While on the source plan, select the "Merge requests" text besides the plan's name. Then, press the "Withdraw" button next to the merge request you wish to withdraw:


Begin a Merge
You can begin a merge from a pending merge request so long as the plan is not currently locked.
Beginning a merge locks the target plan until the merge is either cancelled, denied, or committed.
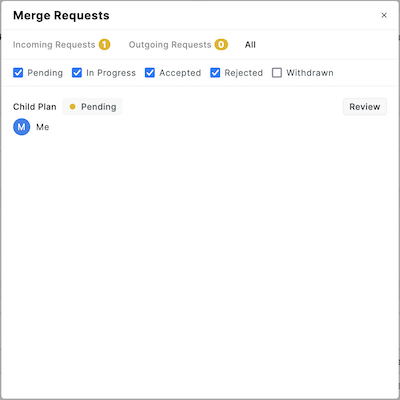
While on the target plan, select the "Merge requests" text beside the list of branches to see the incoming requests. Then, press "Review" next to the merge request you wish to begin:

Cancel a Merge
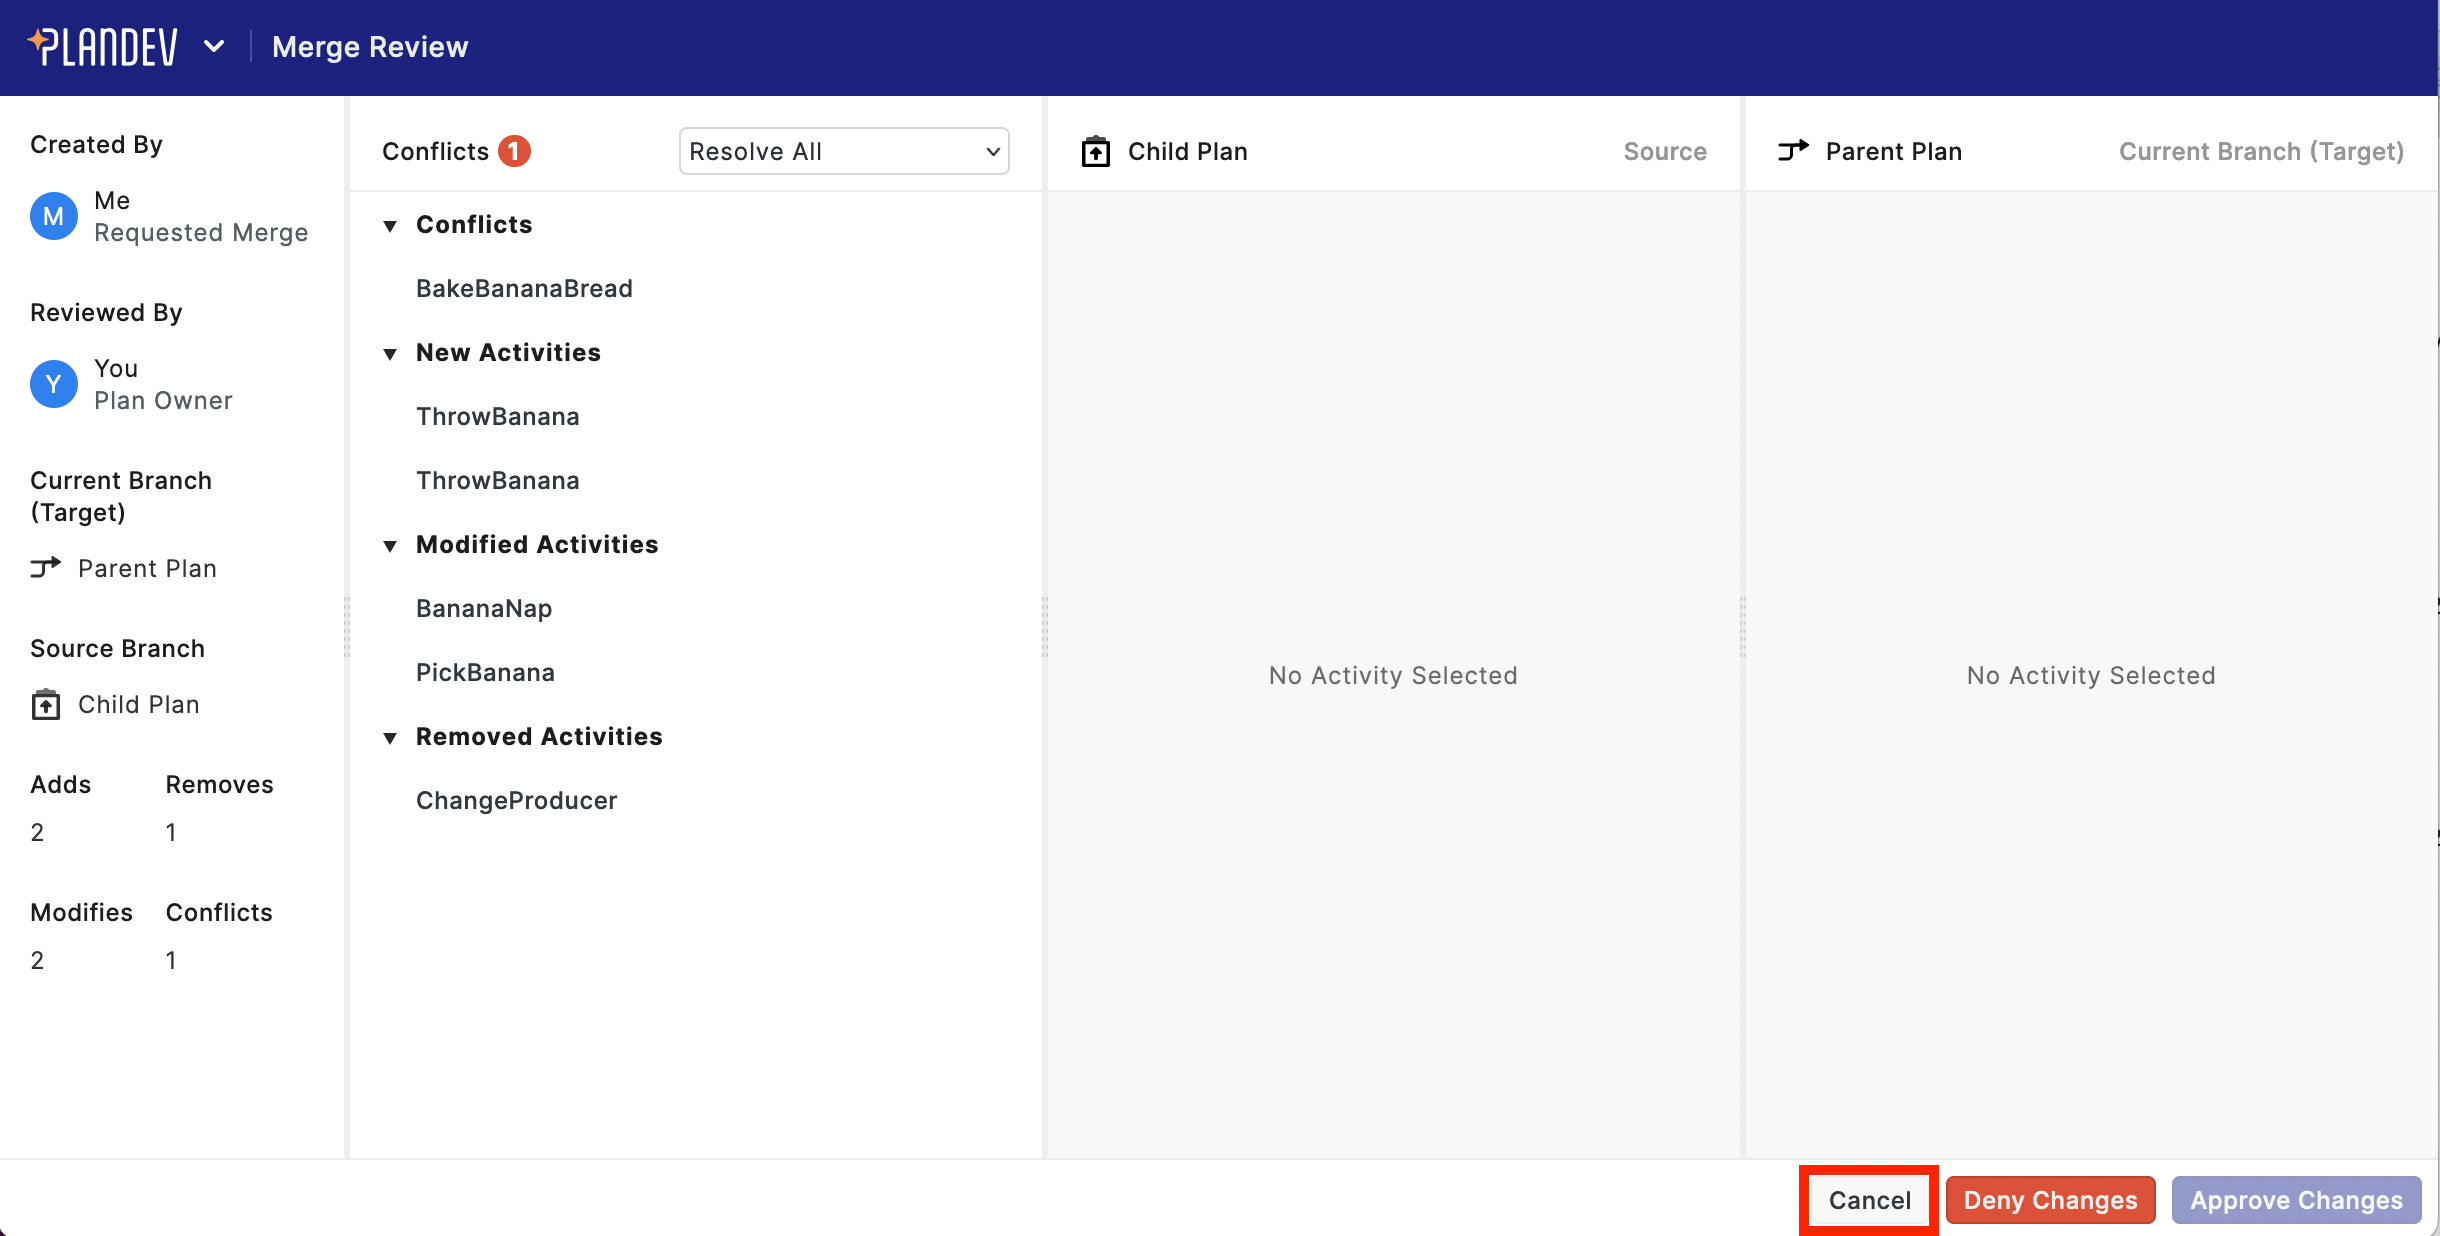
You can cancel any in-progress merge. From the merge review screen, press the "Cancel" button in the bottom-right corner:
Resolving Conflicts
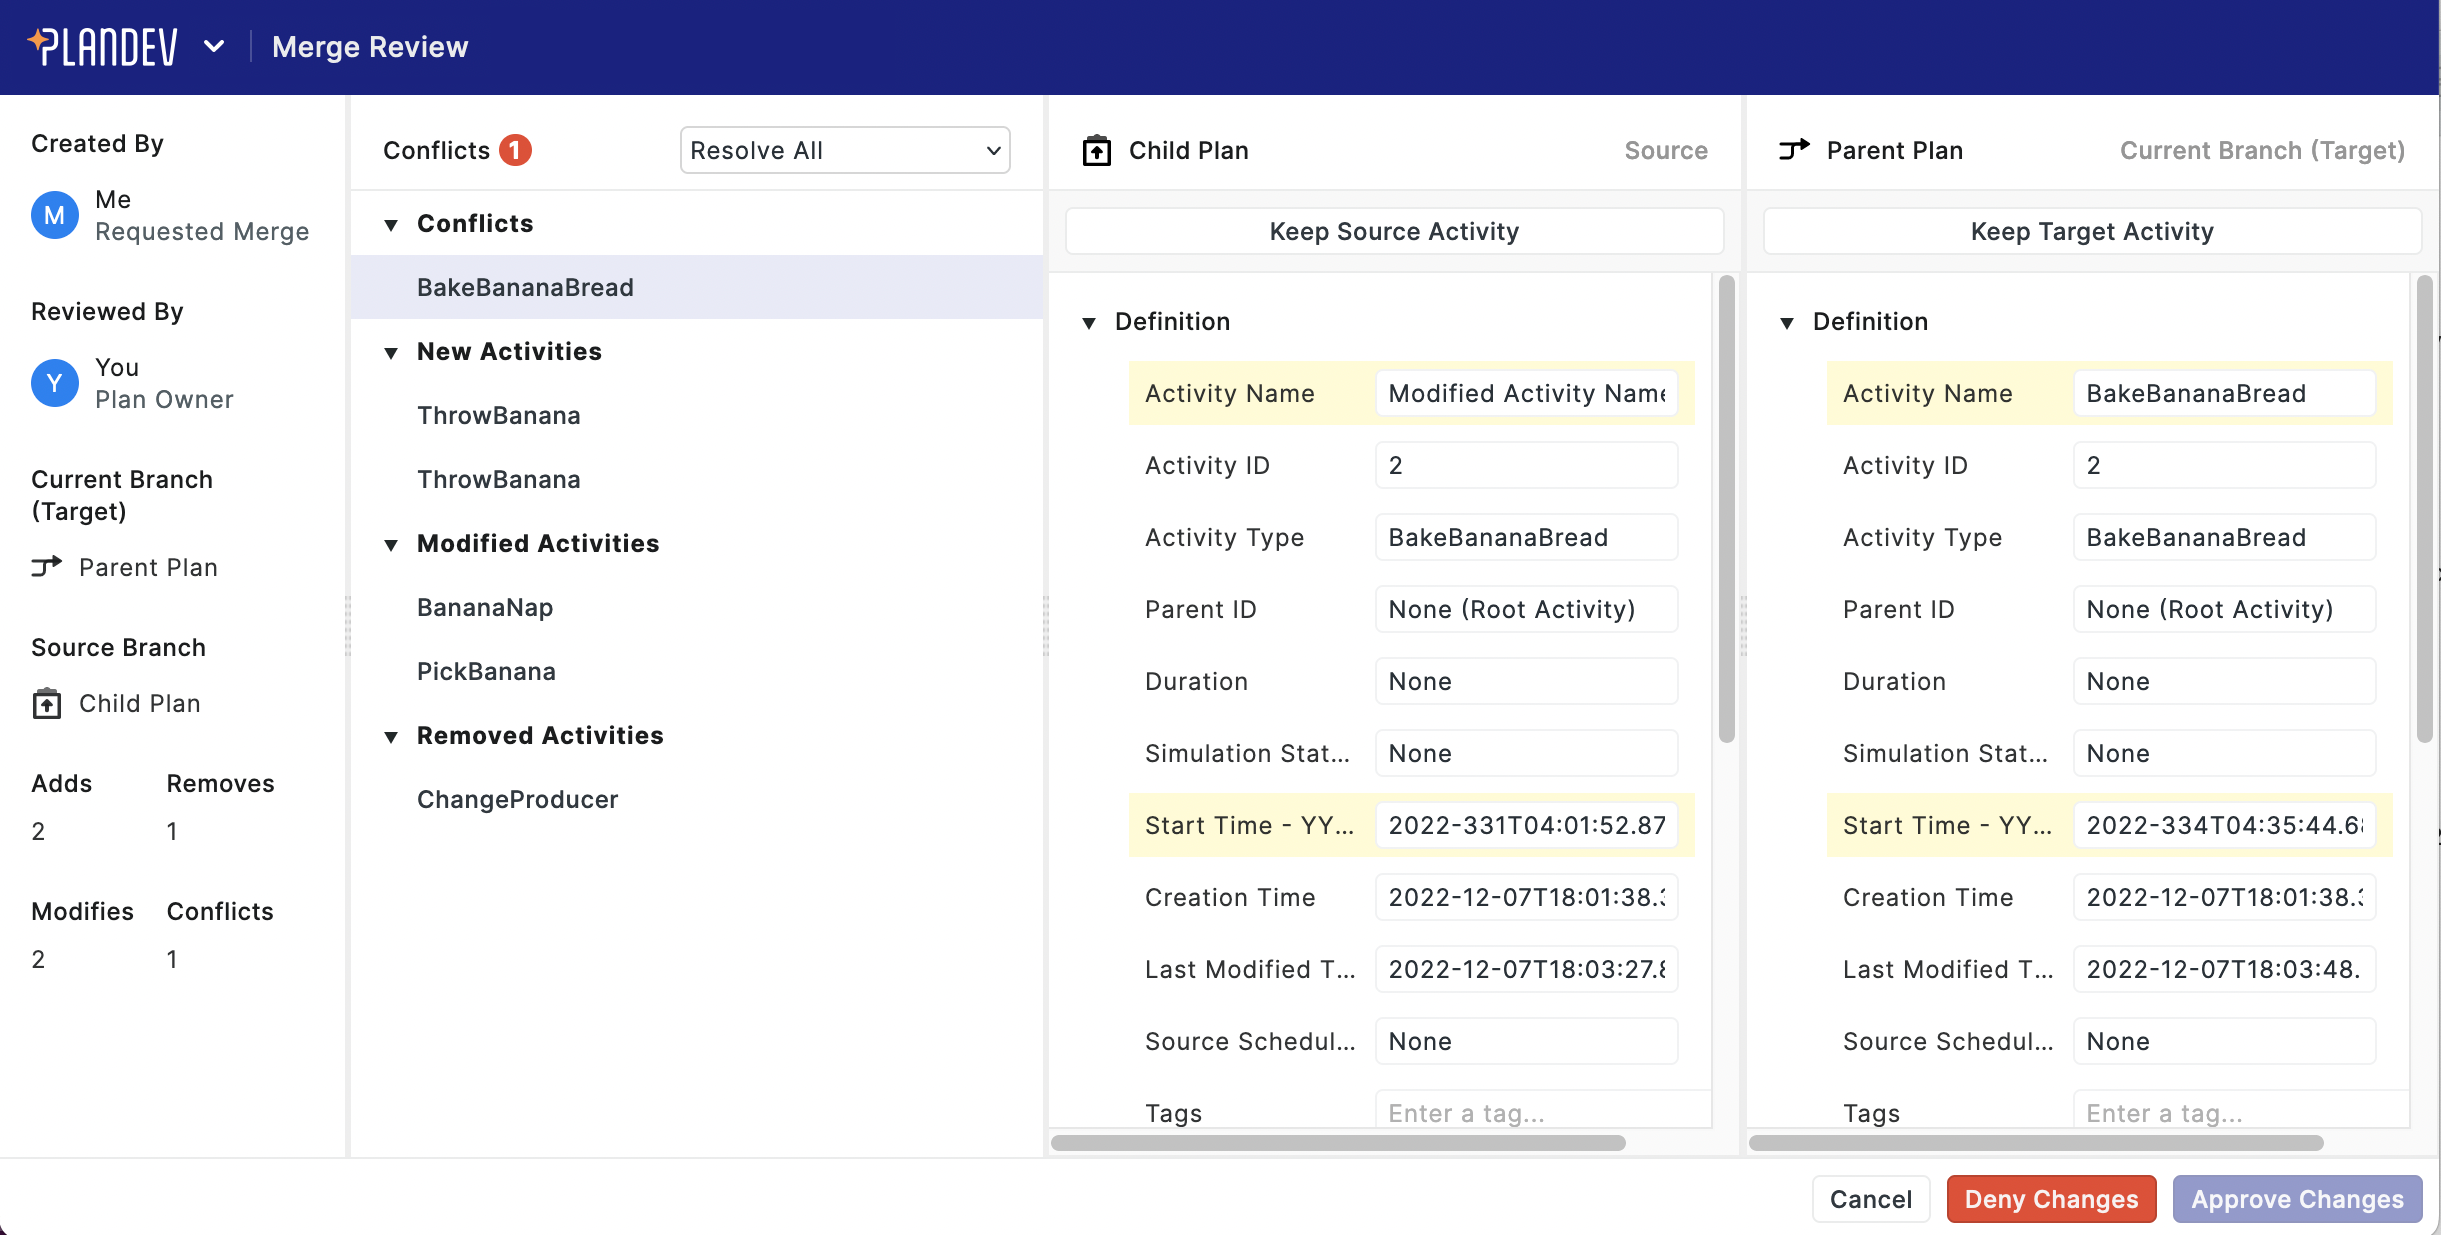
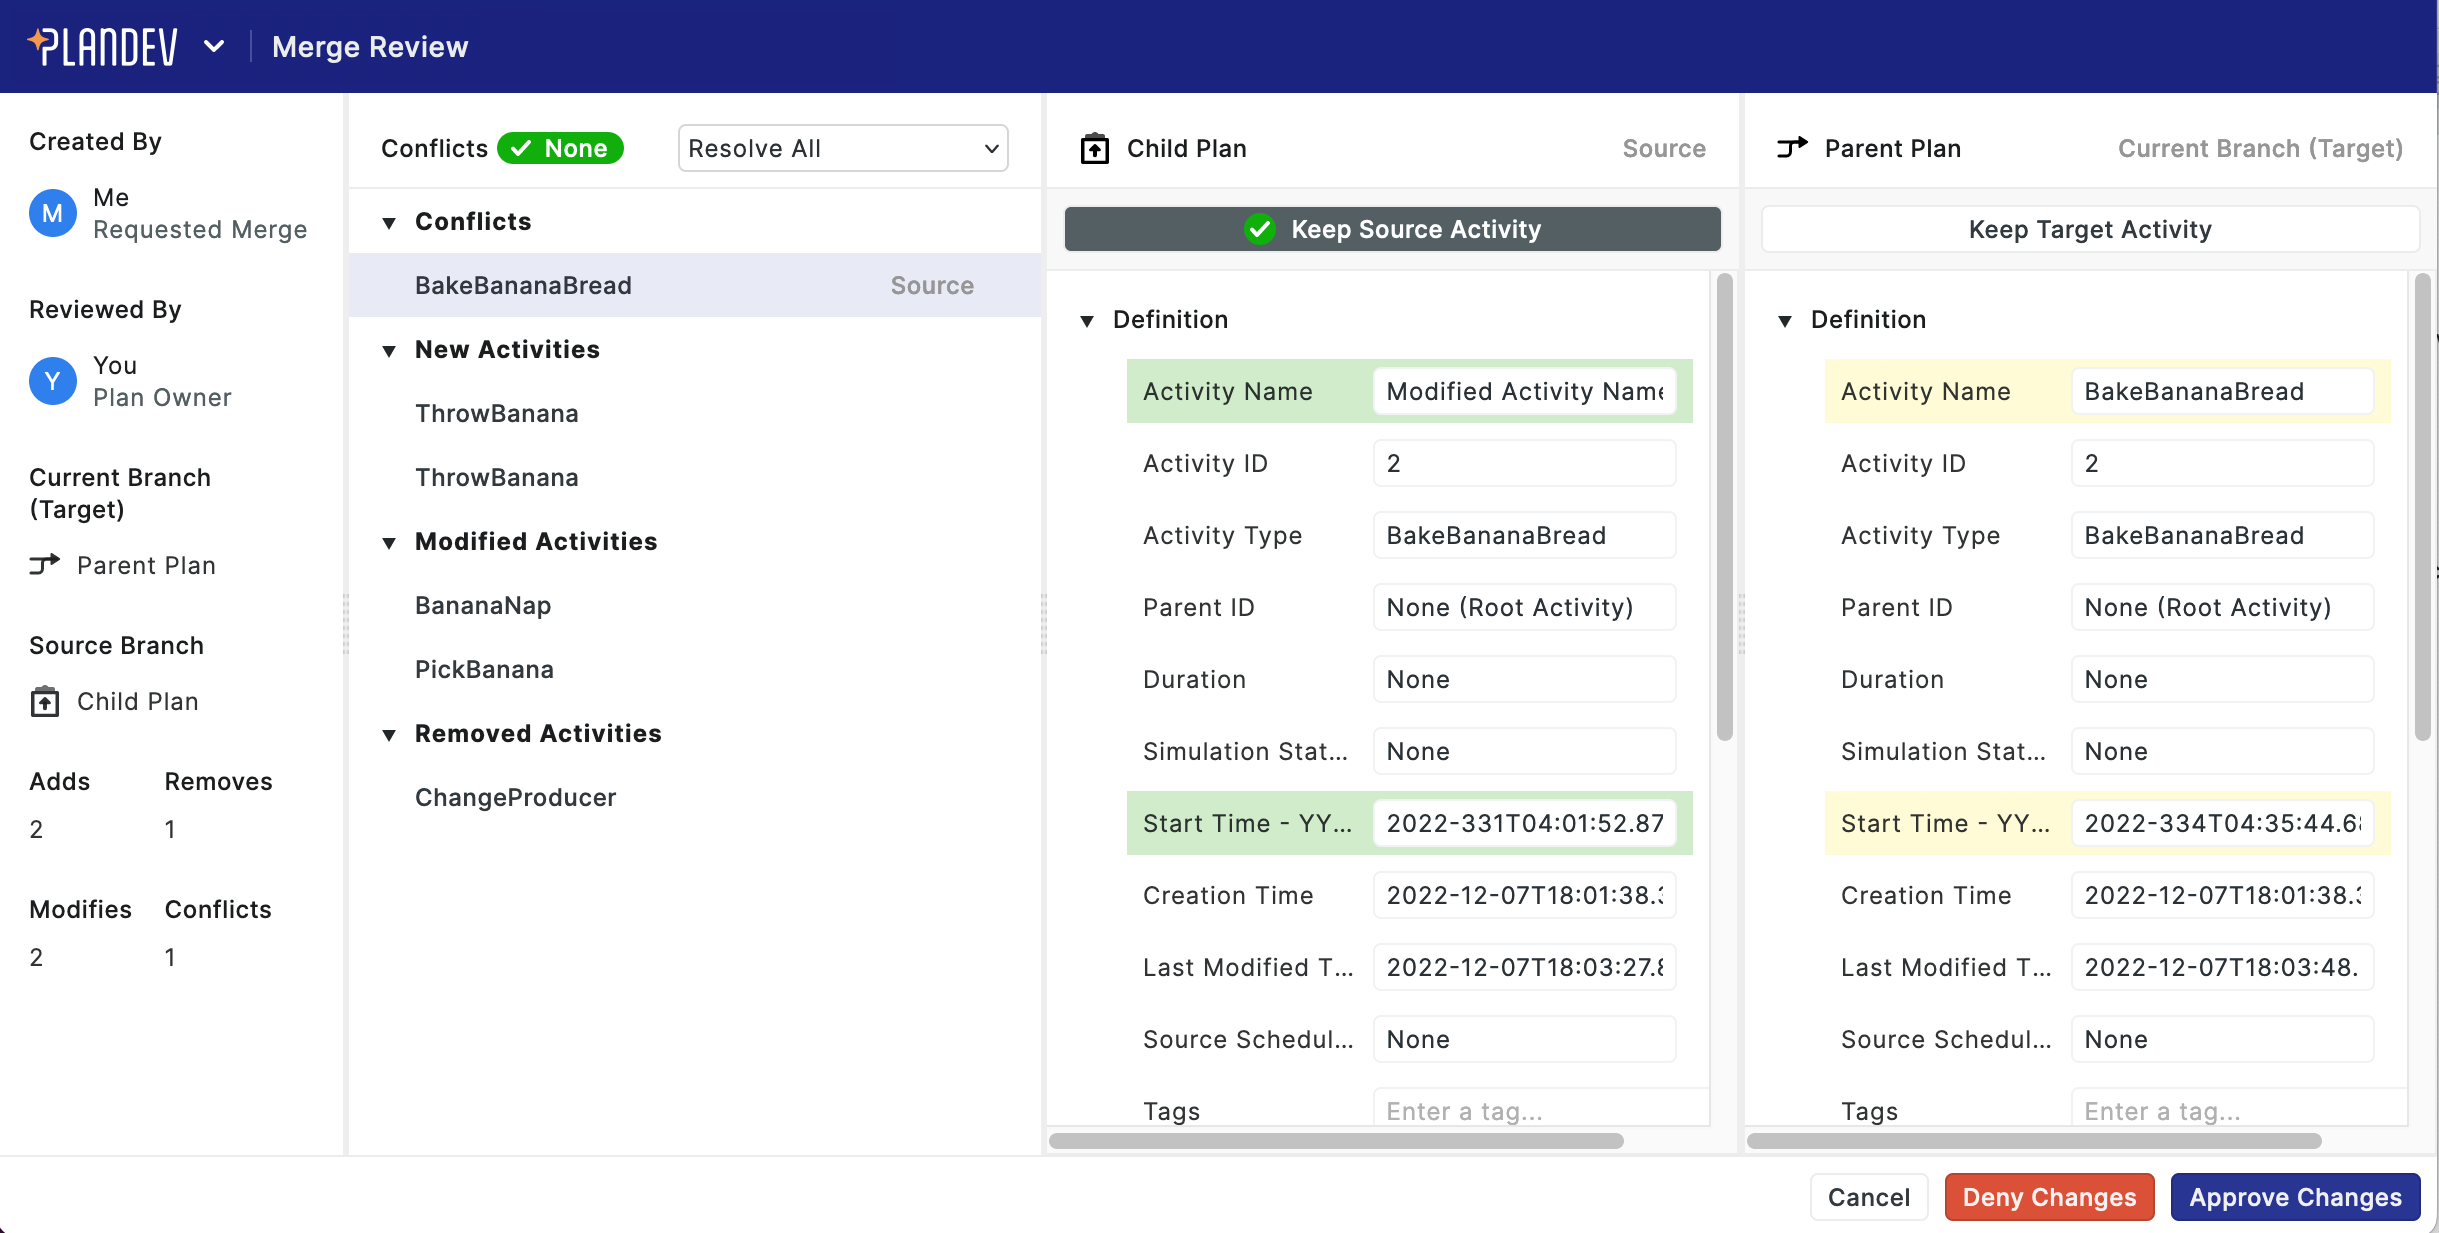
Before a merge can be committed, all conflicts must be resolved to either source or target.
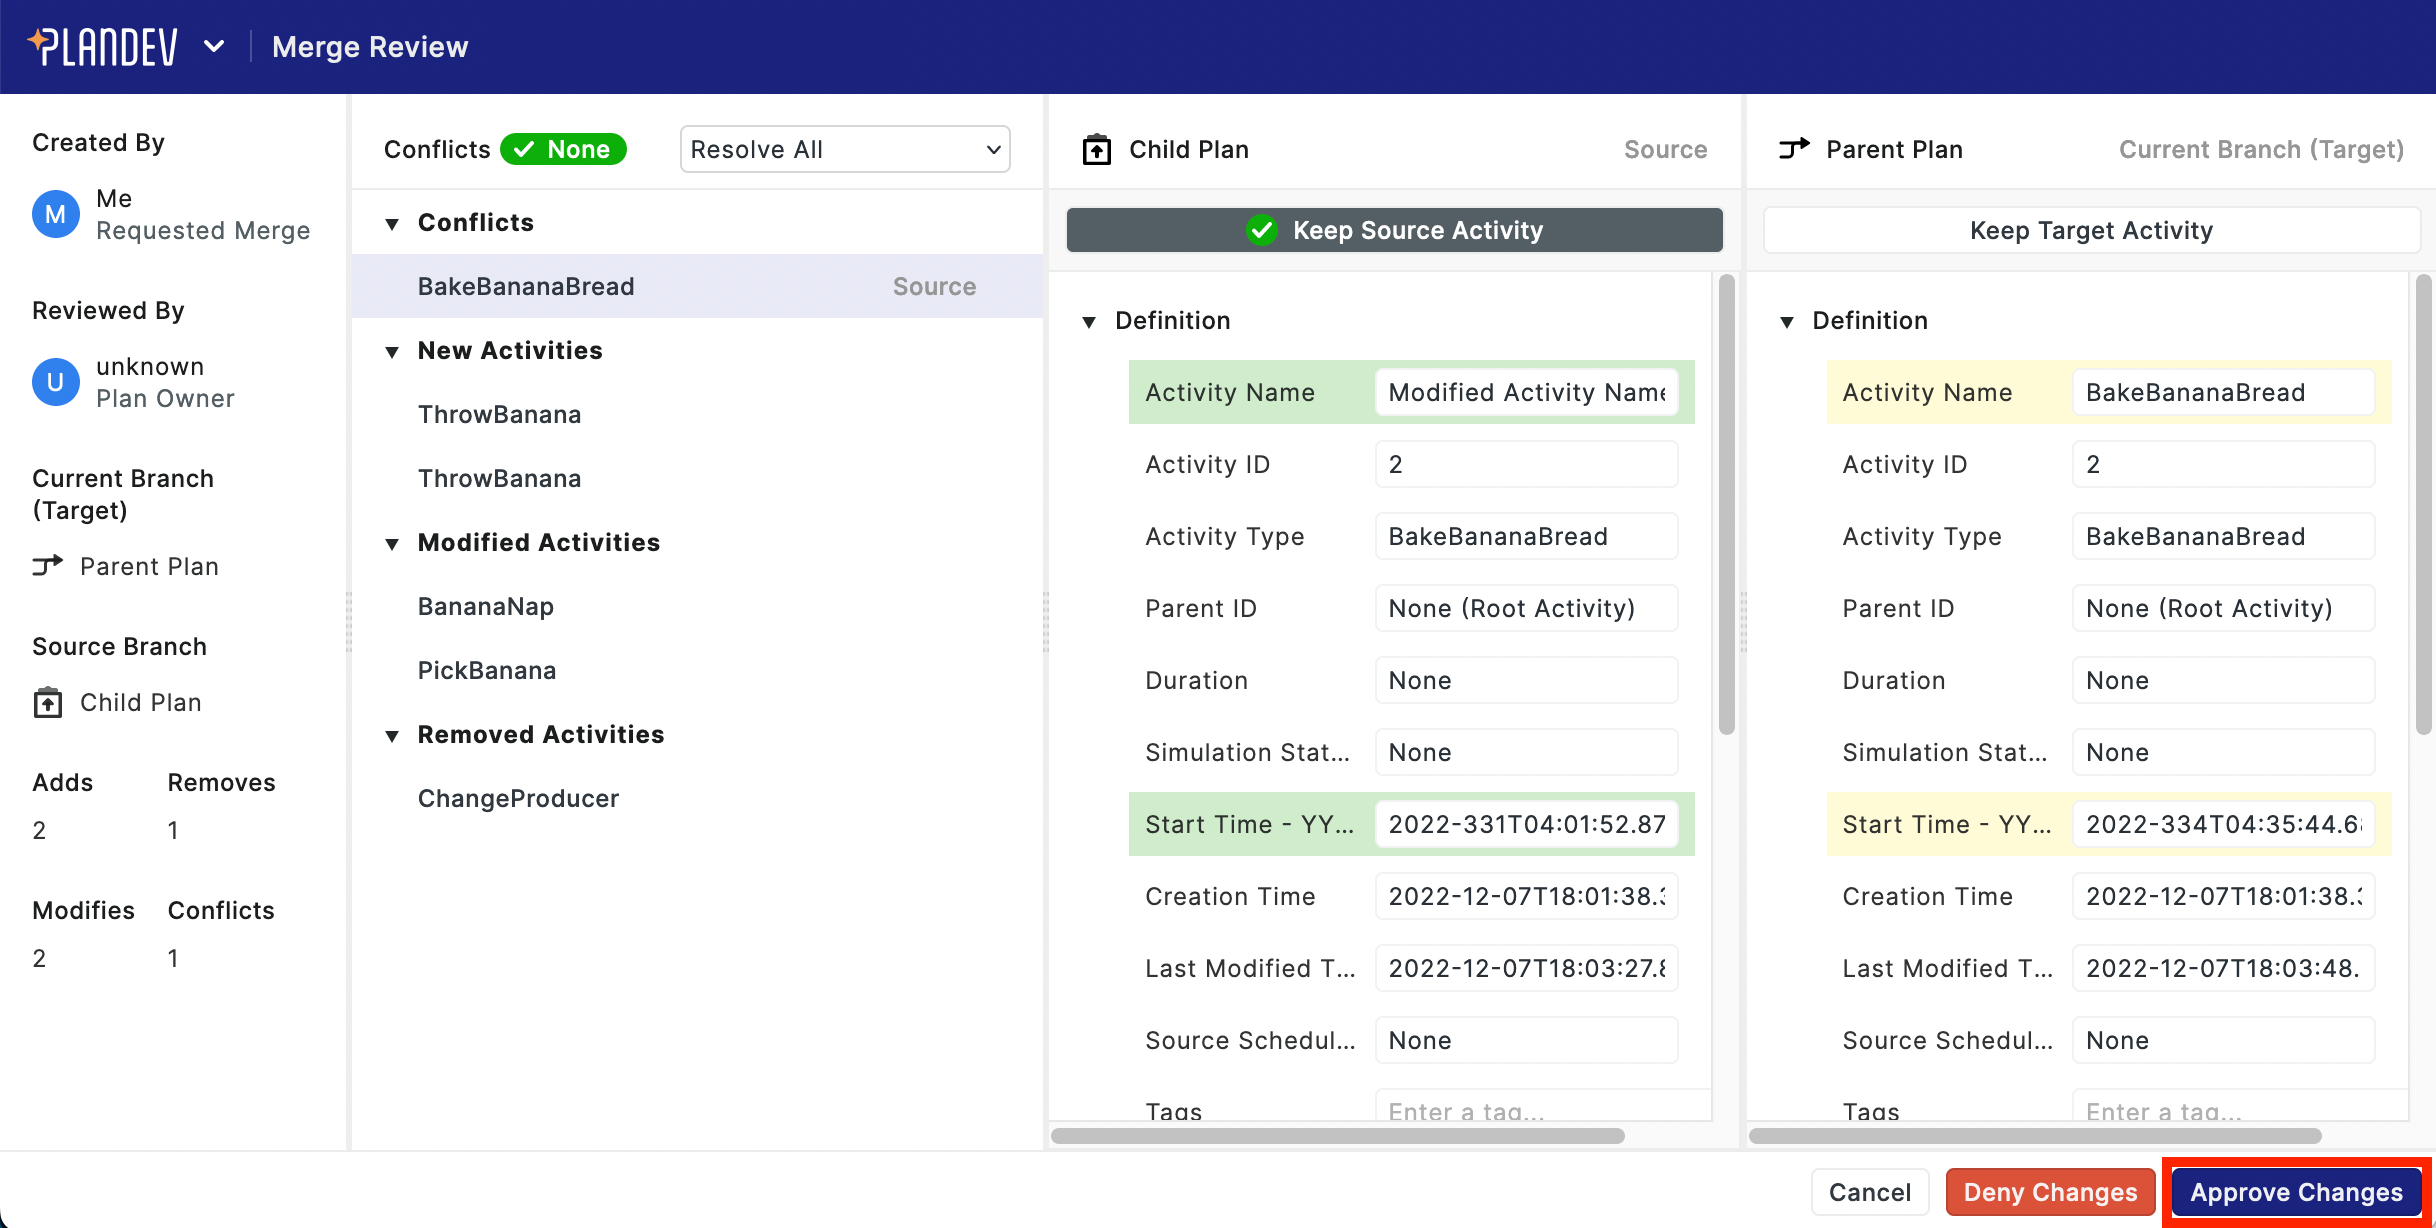
First, select a conflicting activity from the list. The version of the activity in the source and target plan will appear to the right, with the differing fields highlighted. Then, determine which version to keep by pressing either "Keep Source Activity" or "Keep Target Activity":
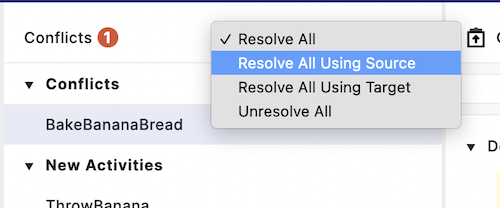
You can also resolve conflicts in bulk:
Deny a Merge
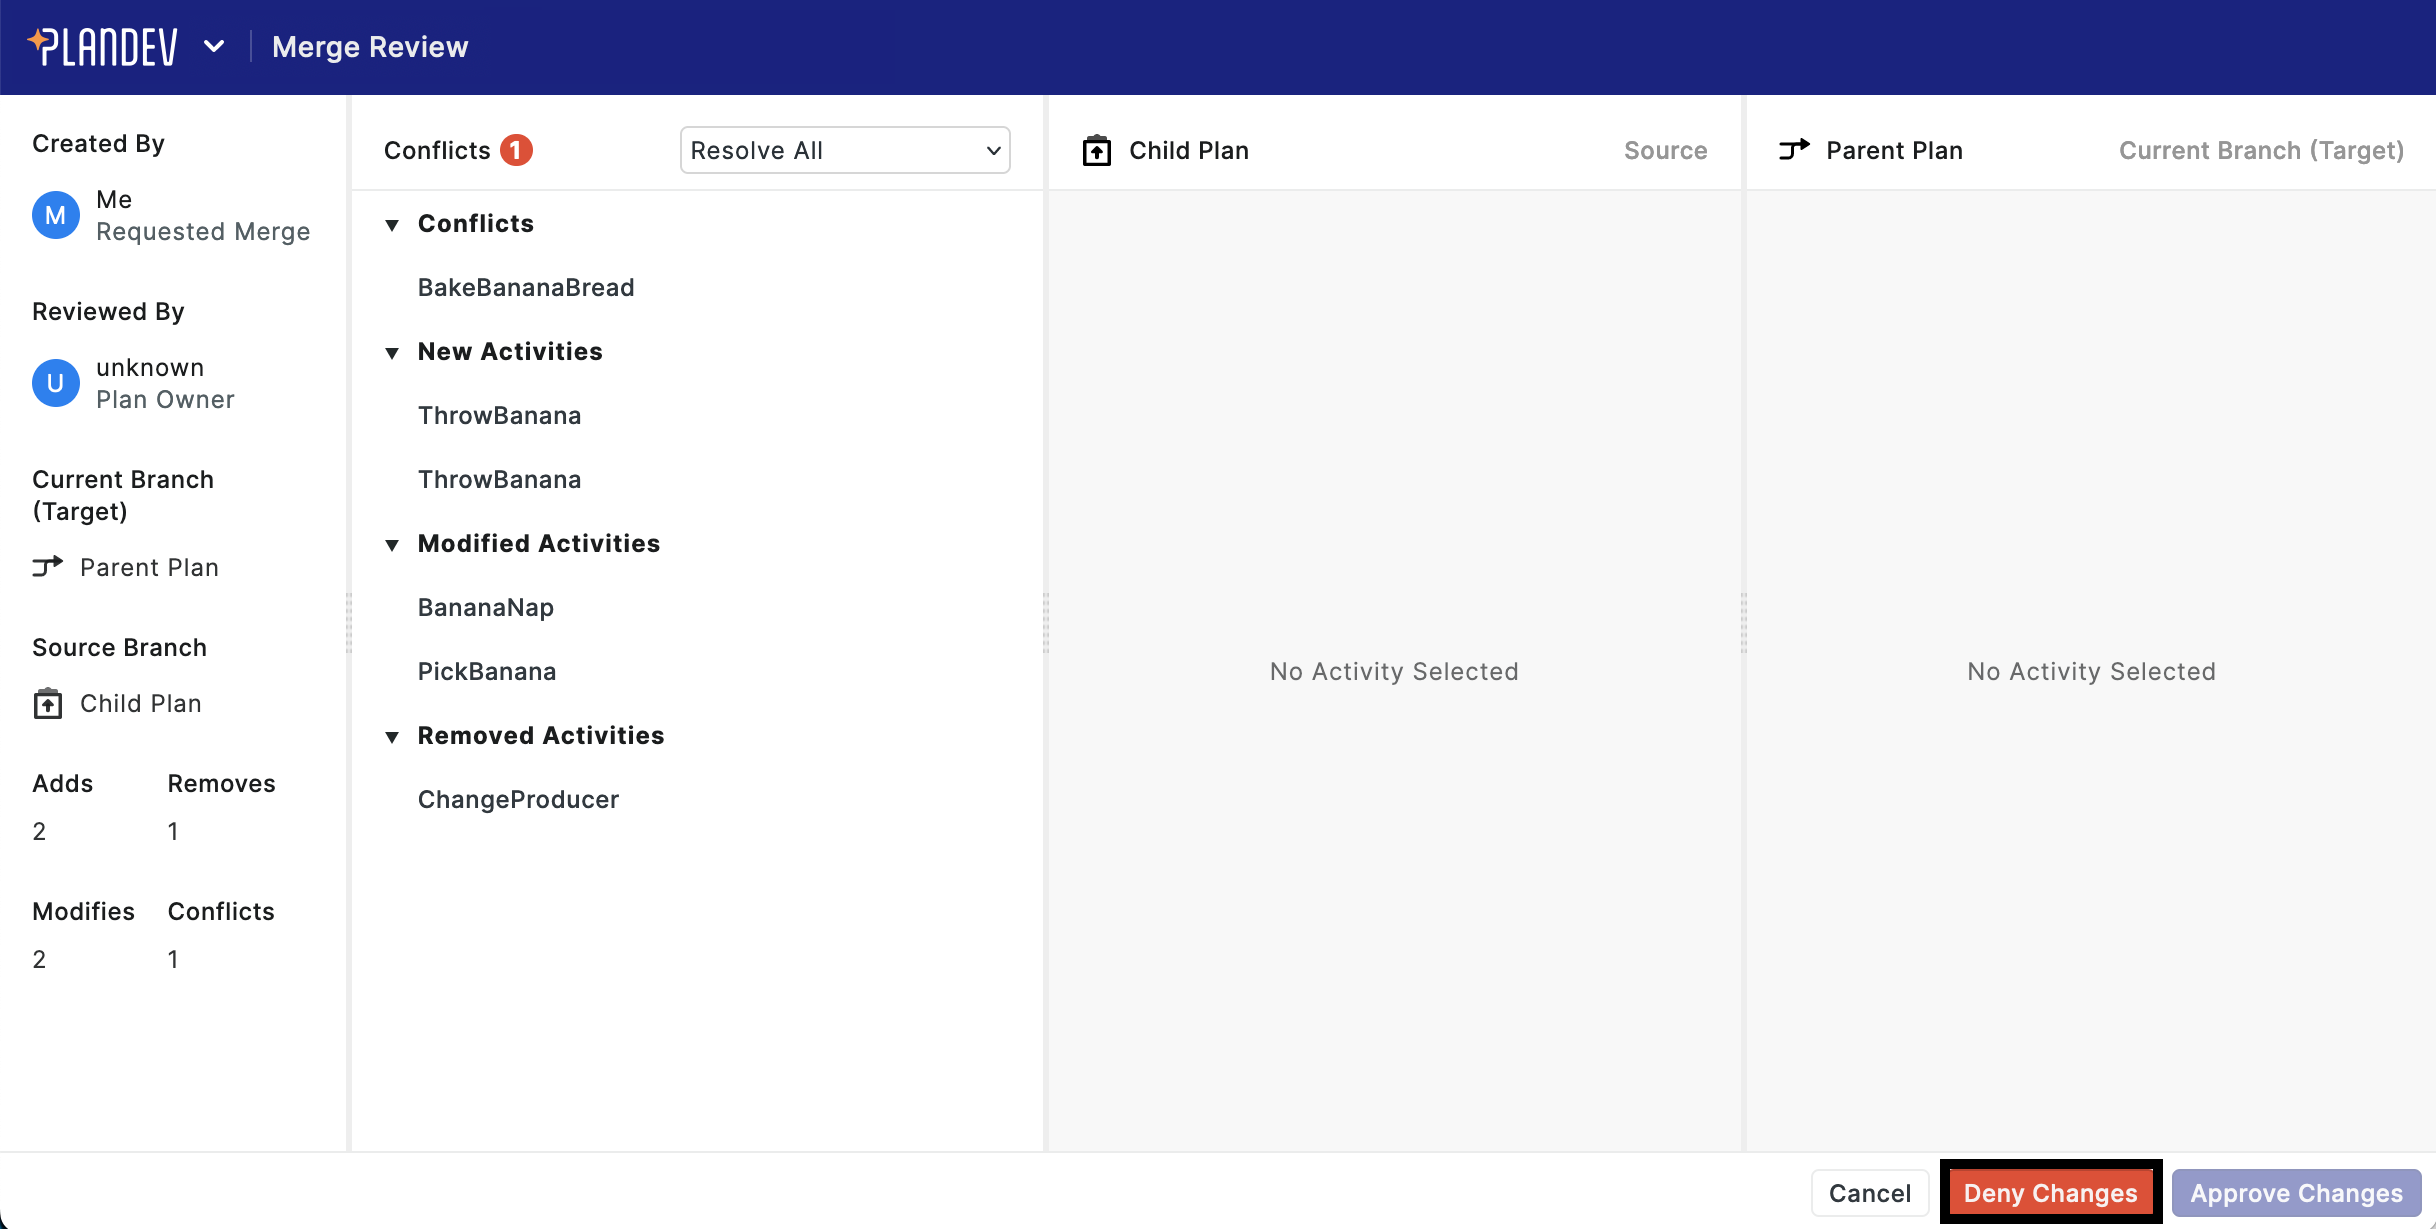
It is possible to deny an in-progress merge, for example, if a request is outdated.
Once a merge has been denied, that request cannot be used to begin a merge.
From the merge review screen, press the "Deny Changes" button in the bottom-right corner:
Commit a Merge
Once all conflicts have been resolved, you can commit a merge. From the merge review screen, press the "Approve Changes" button in the bottom-right corner:
External Events (specifically, derivation groups) are not included in plan snapshots and merges. This will be addressed in a future release. See External Events for more information.