Associating the Derivation Group with a Plan
Now that we have some External Sources uploaded, we can utilize them within a plan to see them on a timeline.
Prior to creating a plan, a mission model must exist. The mission model is not associated directly with any external source or events, so any mission model can be used with any external sources or events.
Creating a Plan
Start by going to the Aerie Plan page:
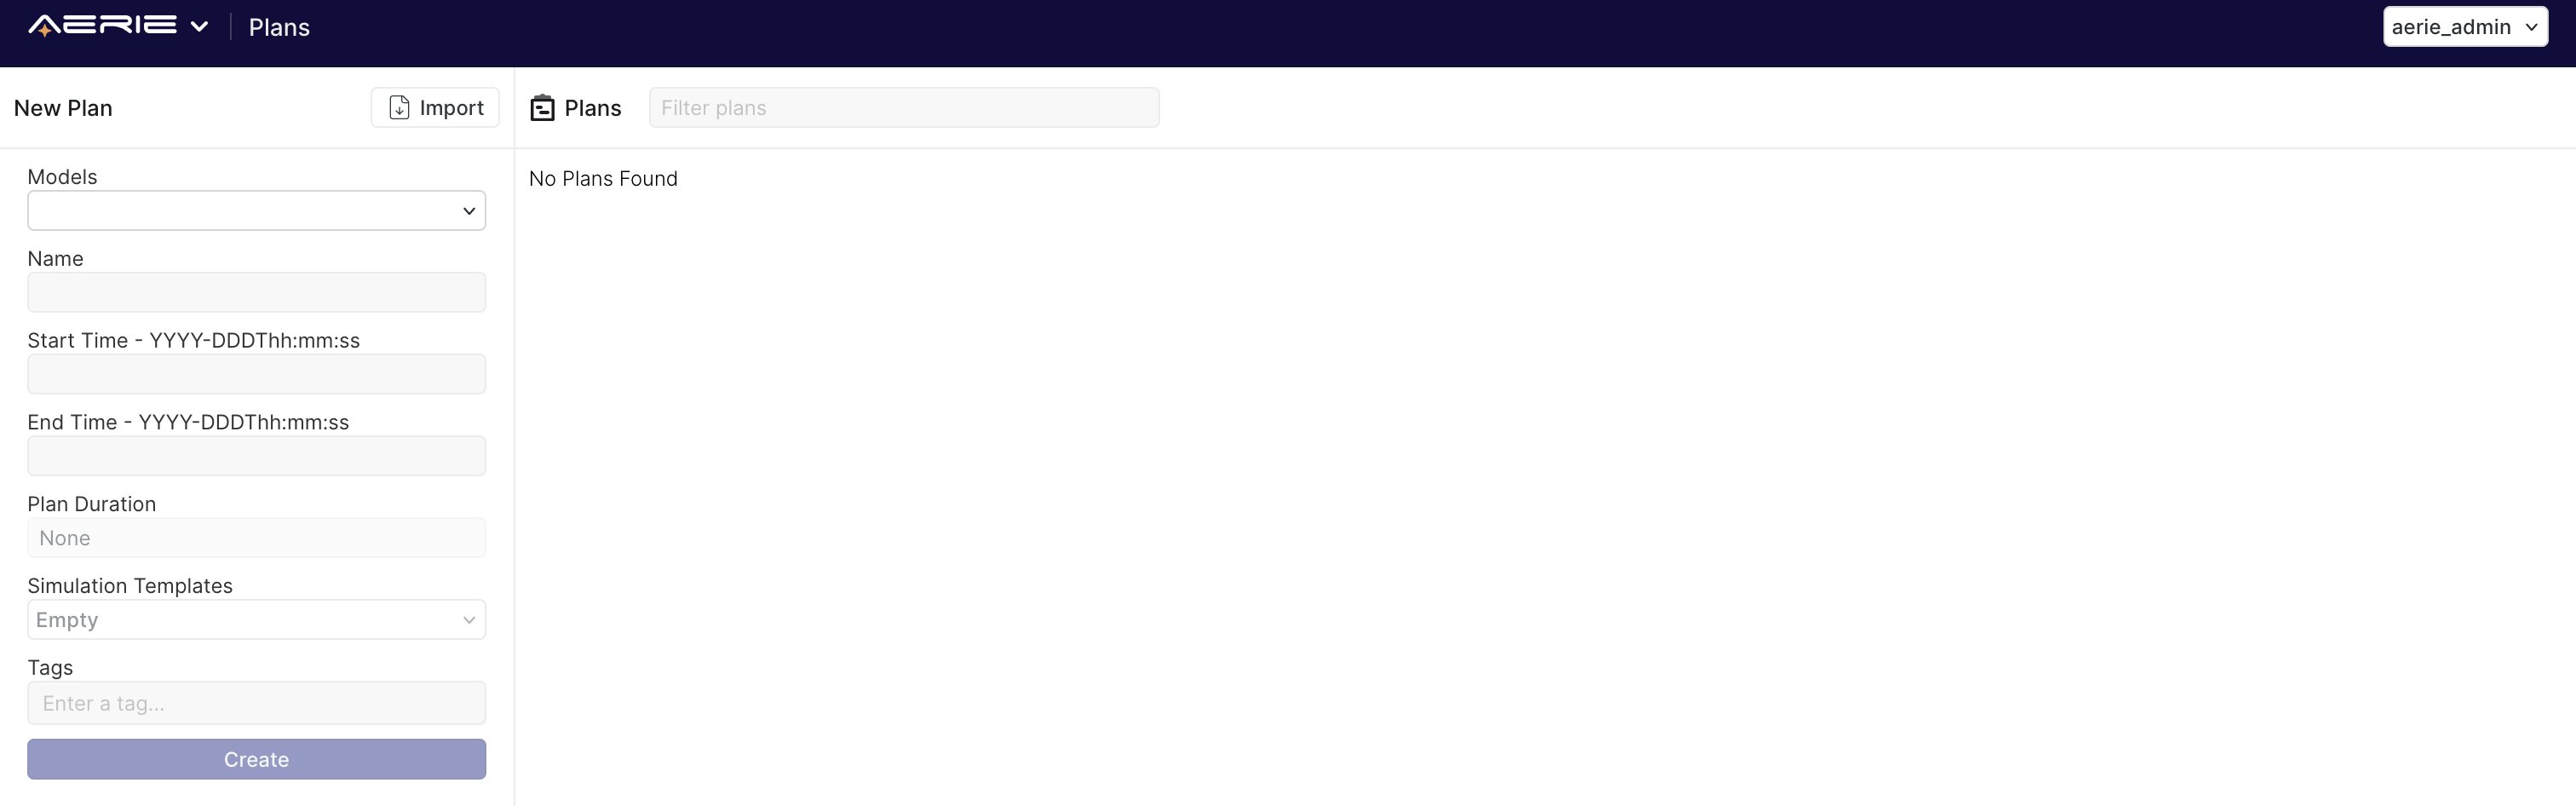
Once there, create a new plan with the following parameters:
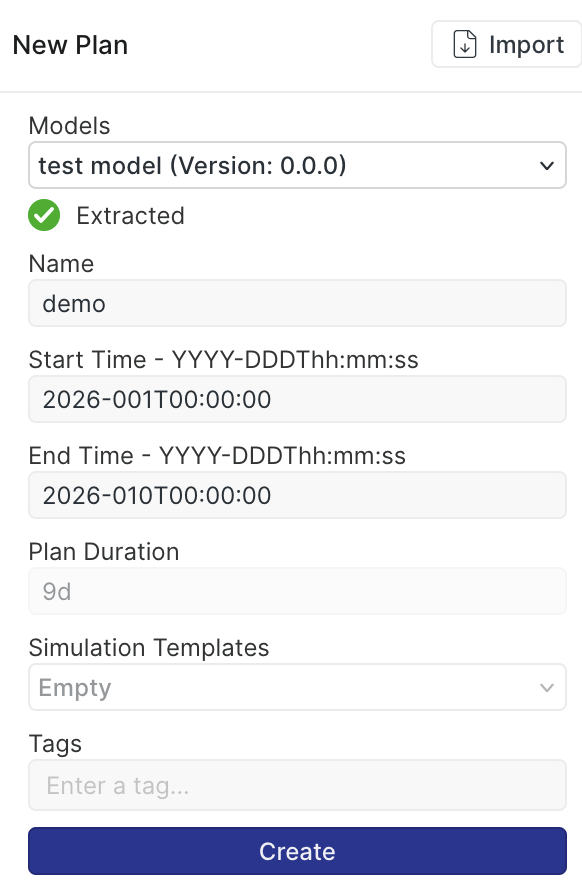
The start and end times are important here, as they are the bounds that contain all the external events in the source we uploaded.
After the plan has been created, select the plan in the table to the right, and then select Open plan in the pane on the left. You should be presented with a plan view that resembles the image below:
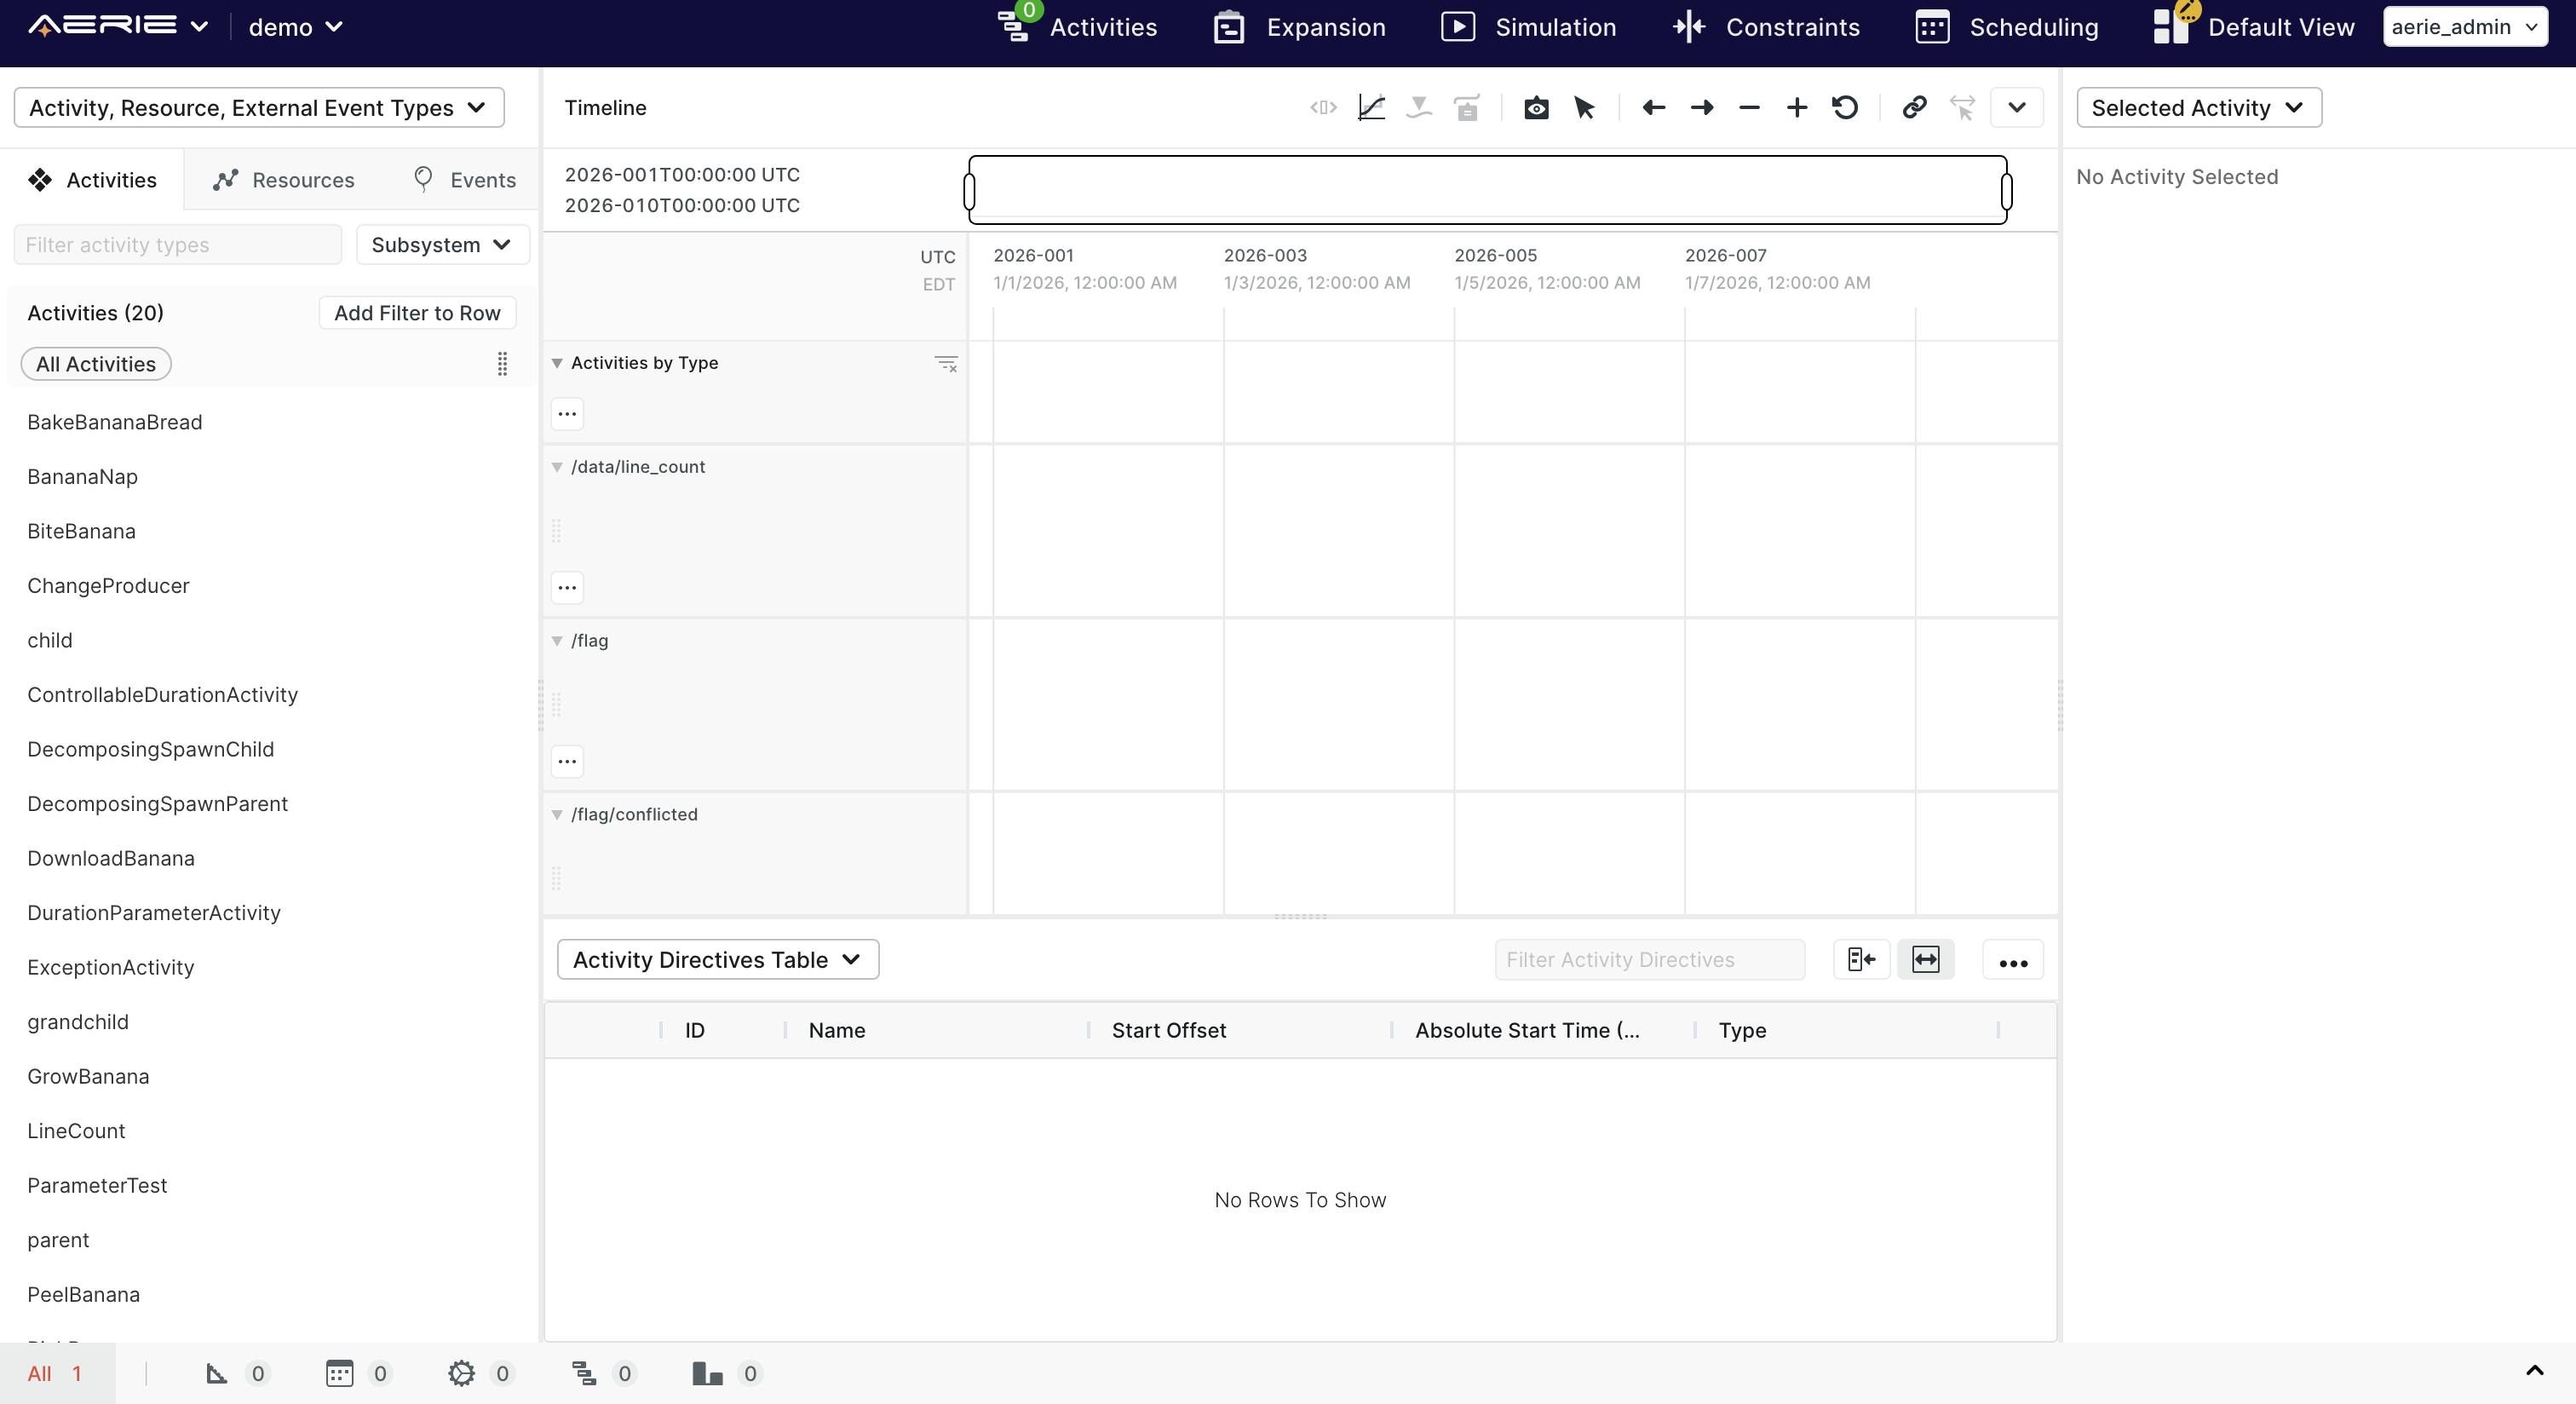
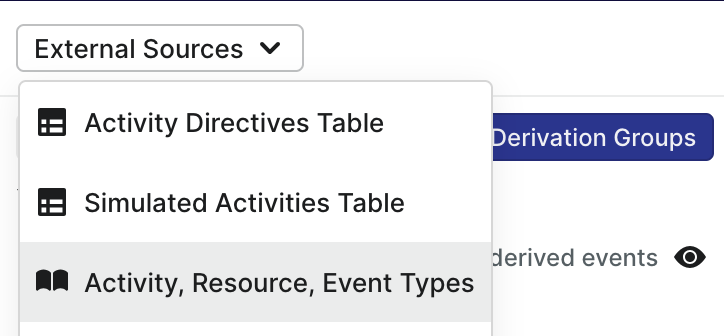
Click the drop-down menu in the top-right (currently on Activity, Resource, External Event Types) and select the External Sources tab. You should see the following:
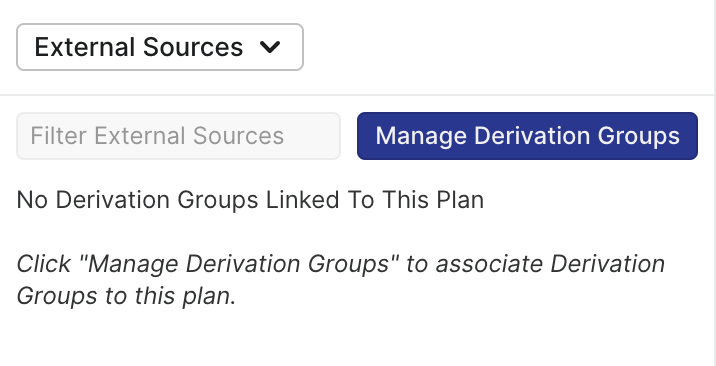
This panel tells us that there are no derivation groups currently linked to our plan, meaning the external events we uploaded before are not yet associated with it.
Associating the Derivation Group
Previously we created and uploaded an External Source, however our plan is not yet associated with the source's events. To change this, we need to click Manage Derivation Groups, to open the Derivation Group management modal.
We can now look at all of our available Derivation Groups (currently only one) and select which ones to associate with our plan. Association means that the events from this derivation group can be displayed on the timeline and used in analyses of that plan.
Details on what exactly association entails can be found here under Derivation Group Management Modal.
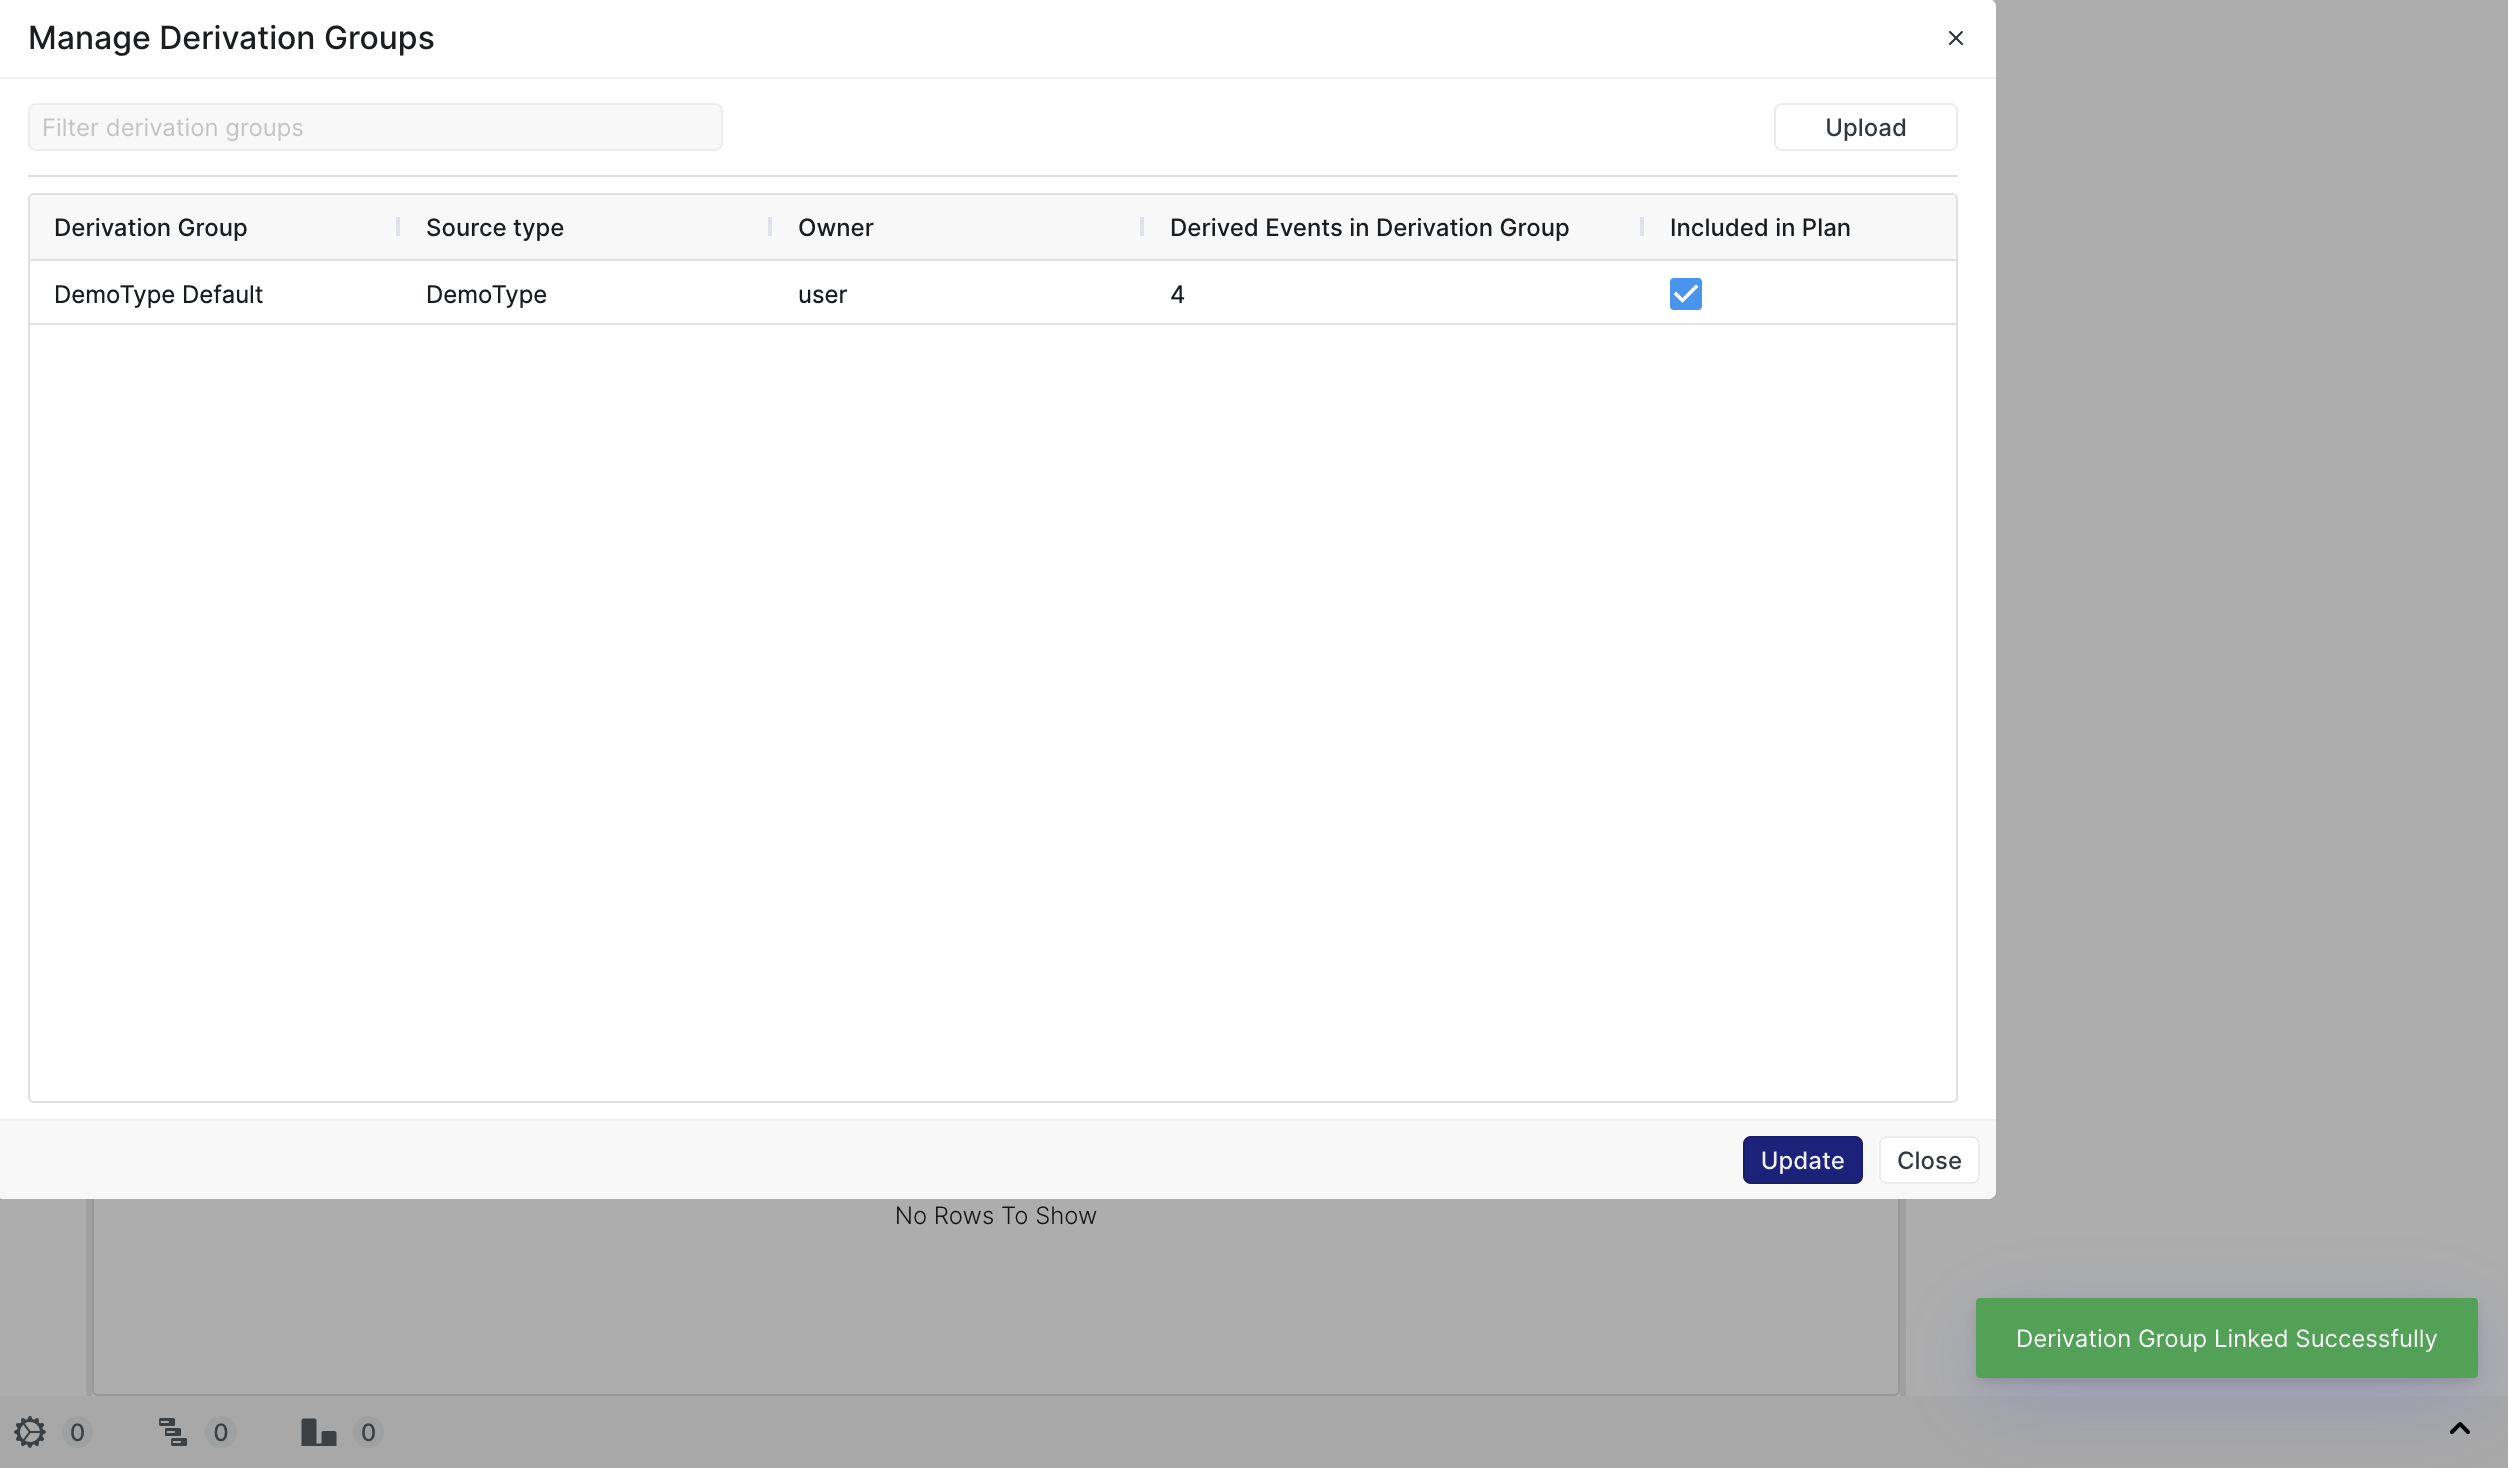
In the Manage Derivation Groups modal, check the check-box for our Derivation Group (DemoType Default).
Click the Update button to save the current Derivation Group associations.
The modal should now appear as below, with a success toast in the bottom-right corner of the screen:
Leaving this modal, it should now be present in the External Sources tab on the left.
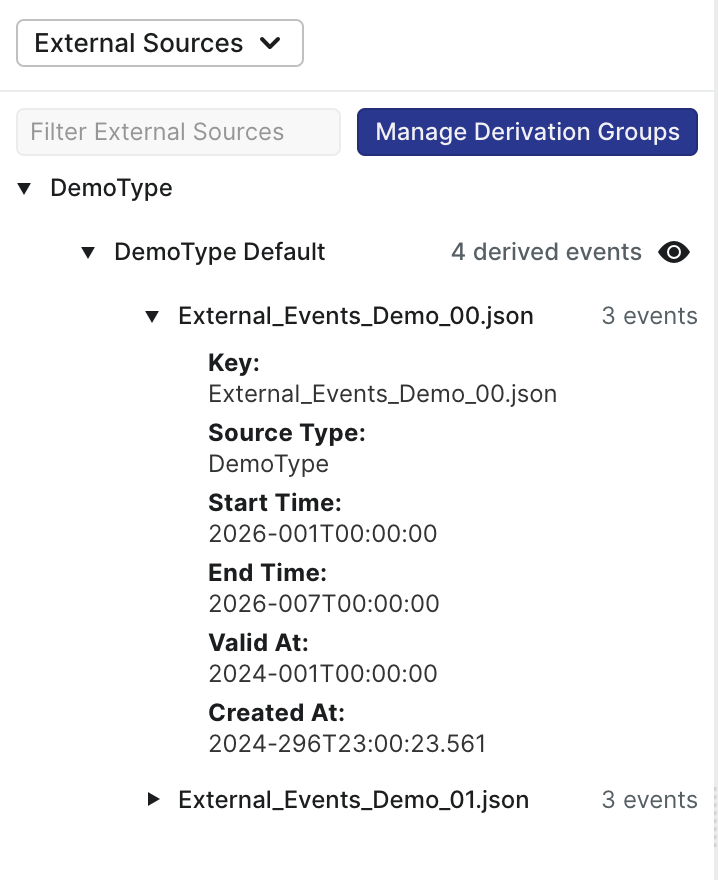
On the left-pane, we can see the breakdown of External Event Counts - where the Derivation Group is shown to have 4 derived events which come from the two sources, External_Events_Demo_00.json and External_Events_Demo_01.json, that both have 3 raw events (or, un-derived. The External Event counts on External Sources represent the amount of present in the file itself, with no derivation or filtering applied).
Displaying External Events on the Timeline
Now that we have a derivation group associated with our plan, we can put those external events on the timeline to visualize them.
First, switch to the Activity, Resource, & Event Types tab.
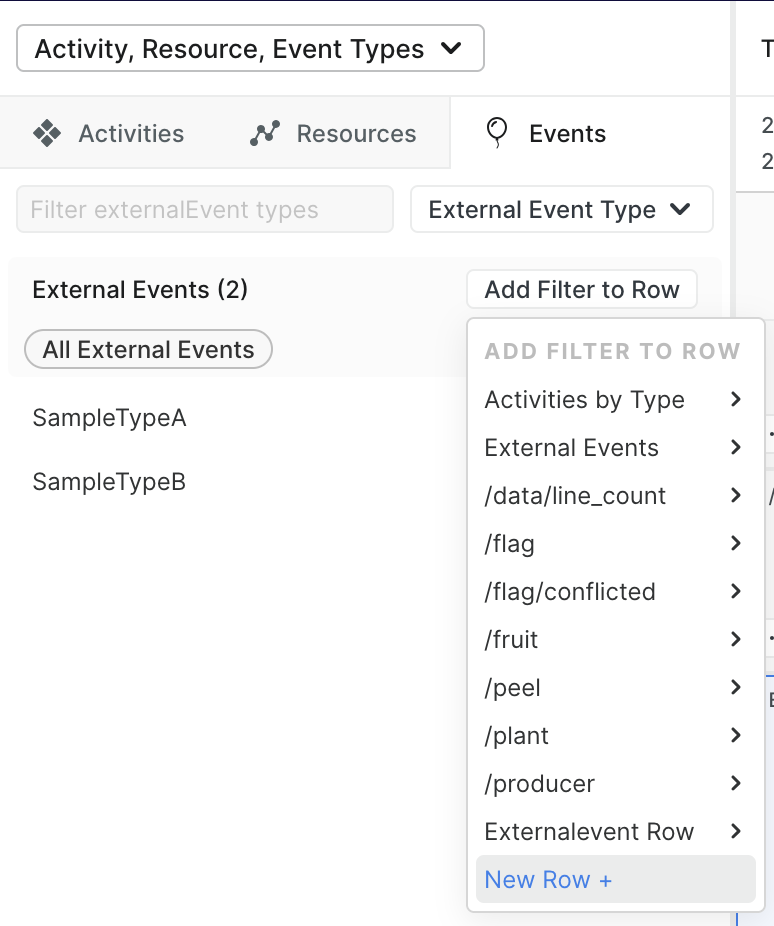
Click on the Events tab in the pane. The external event types from the example events should appear inside of the pane - these can be dragged to pre-existing rows to add as a filter, or by using the + icon when hovering over the type entry.
For this tutorial, we'll create a new row entirely. We can expedite the process by using the Add Filter to Row button at the top of the pane, and then clicking the New Row + button at the bottom of the list. This will create a new row, with all available external event types included.
We can now see our example events on the timeline! There are 4 derived events shown, these represent the set of events that are derived from all the sources that exist within the derivation group.

In the next section, we'll look at the options available when editing a layer on the timeline.
Editing the External Event timeline layer
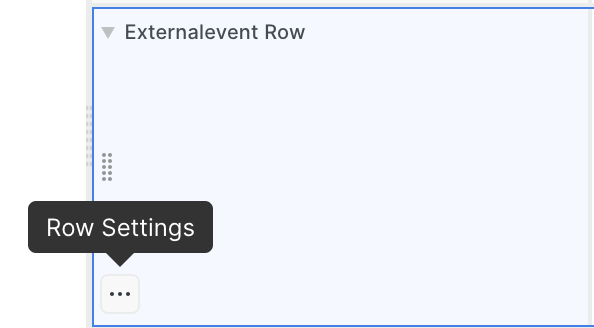
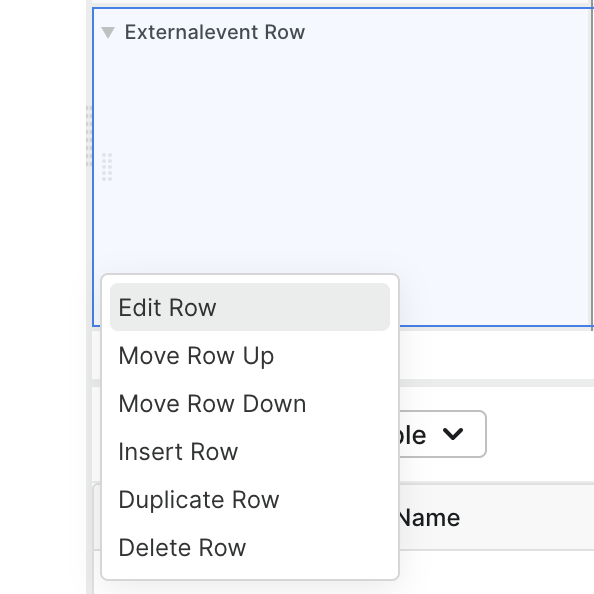
Clicking the three dots on the bottom right of the layer and then clicking Edit Row will bring up the layer timeline editor:
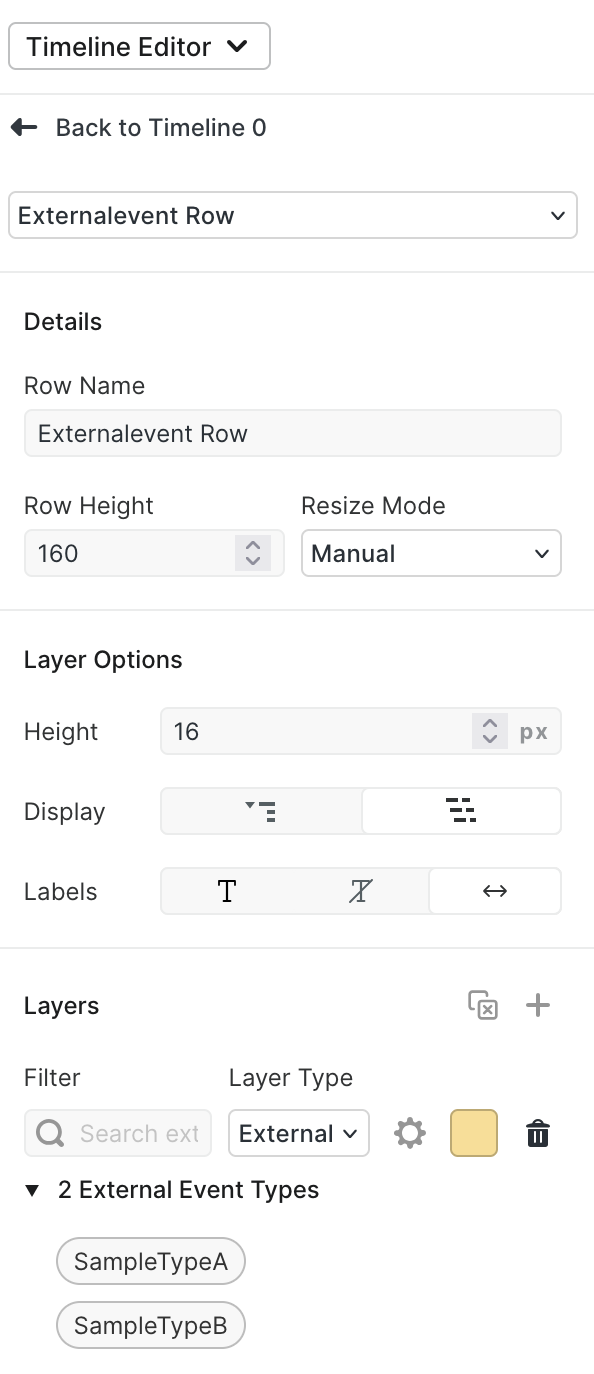
External events appear in the same layer type as activities, and as such share options with them inside of the timeline row editor.
With a Derivation Group associated with our plan, we can now run scheduling goals that incorporate External Events!